Once you have created your container types, you can create your empty tracked containers in Breww, as well as any containers currently in trade. There are two ways to do this, the first way to create containers is by going to the data importer tool. This importer will allow you to state which of your tracked containers are currently held at customer sites. You can locate this by going to Settings → Data imports and updates → Containers, where you can then follow the Data import guide. Please note, this importer is only used for containers you own and not for non-returnables/one-way kegs, and is not for the purpose of importing any stock; this will be covered later in the getting started guide.

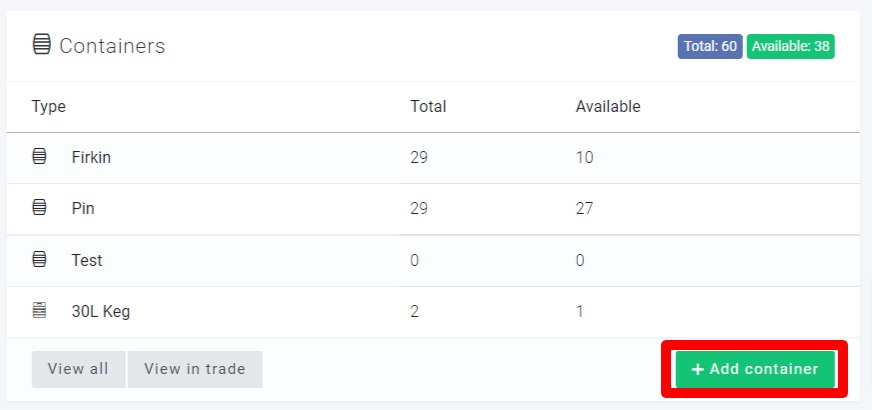
The second way to create your containers is from the Containers tab. Under the containers section of the page, you will see a green button called Add container (pictured below).
Non-returnable containers
If you use containers that don’t need to be tracked and collected, Breww’s non-returnable (NR) container feature can help you account for them. Once a container type is set up in Breww, you can choose the number of NRs to rack into when racking a batch, and Breww will automatically create the NR containers for you and assign each its own NR number. Breww tracks these NR’s throughout the time they’re with you, can even account for their cost in your reports, and ends their life cycle when you deliver them to a customer. You will be able to choose to either assign these containers to orders by specific ‘non-returnable’ container number, or you will be able to change your settings to instead assign by product/batch.
Just getting started with Breww? Click here to visit the next guide, or Click here to return to the Getting started guide.